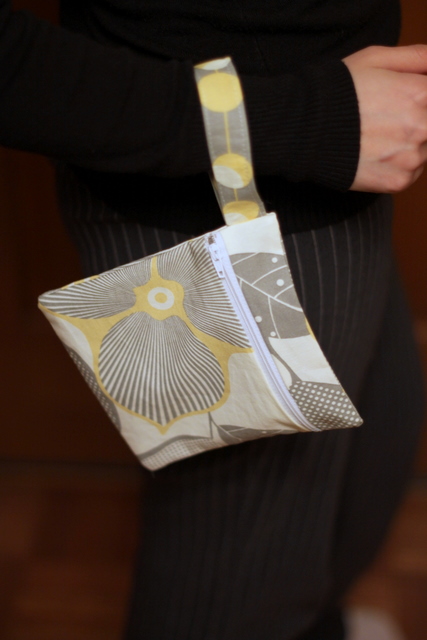
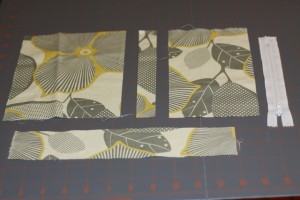
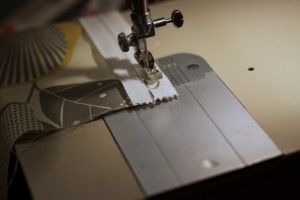
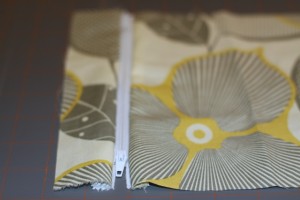
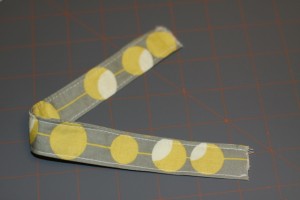
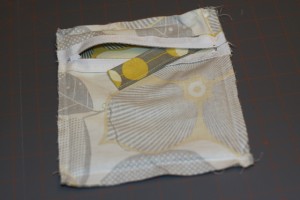
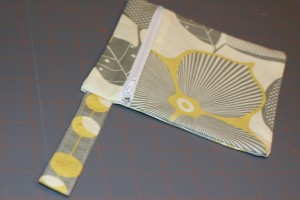
A couple weekends ago, I sewed my very first zipper and I just wanted to share it with you all. Since I am relatively new to sewing, anything outside of the ordinary straight stitch sounds scary to me, so naturally, I was deathly afraid of sewing a zipper. However, I found a very simple and detailed tutorial on how to make a zippered pouch on Cinderberry Stitches and so I decided to take the plunge and try it out. What have I got to lose anyways?? (Besides some money spent on a zipper.) Part 1 explains the measurements of the fabric and has step-by-step instructions on how to sew the zipper. Part 2 shows you how to make the rest of the pouch! When my mom gave me her machine she also gave me a box of random little plastic/metal gadgets which at the time I had no idea what they were… but I was able to dig through it and found the one that looked like a zipper foot! A zipper foot ensures that your stitches are next to and really close to the zipper. My husband, the engineer that he is, was able to help me figure out how to install the foot, whew!
That really wasn’t so bad!! The only thing that was a bit different was that her tutorial required a 7 inch zipper and I had already bought a 6 inch zipper so I needed to re-adjust my measurements (which apparently I did wrong since my pouch turned out to be a square rather than a rectangle). And if you’re thinking, that fabric looks familiar, yup, you’re right, it’s the same one I used for my Bag, it’s Amy Butler fabric and I just can’t get enough of it! I’m thinking about making some more little pouches, maybe a small makeup bag, perhaps a jewelry roll… we shall see! And then eventually I’ll need to move on to an invisible zipper because that looks better in skirts and dresses! 🙂


 In Stitches
